
How to Bake Your Sourdough Loaf
Learn how to bake the perfect sourdough loaf at home.
You've nurtured your sourdough starter, and now it's time to turn that bubbly goodness into a beautiful loaf. Baking sourdough is both an art and a science, but don't worry we'll guide you through each step with some personal tips to help you succeed.

What You'll Need:
● Active sourdough starter – Make sure it's nice and bubbly before you begin.
● High-grade flour – This will give your dough the structure it needs to rise beautifully.
● Filtered water – Filtered water is best as chlorine can inhibit the yeast.
● Salt – Adds flavor and helps to tighten the dough.
● A mixing bowl – Large enough to allow the dough to double in size.
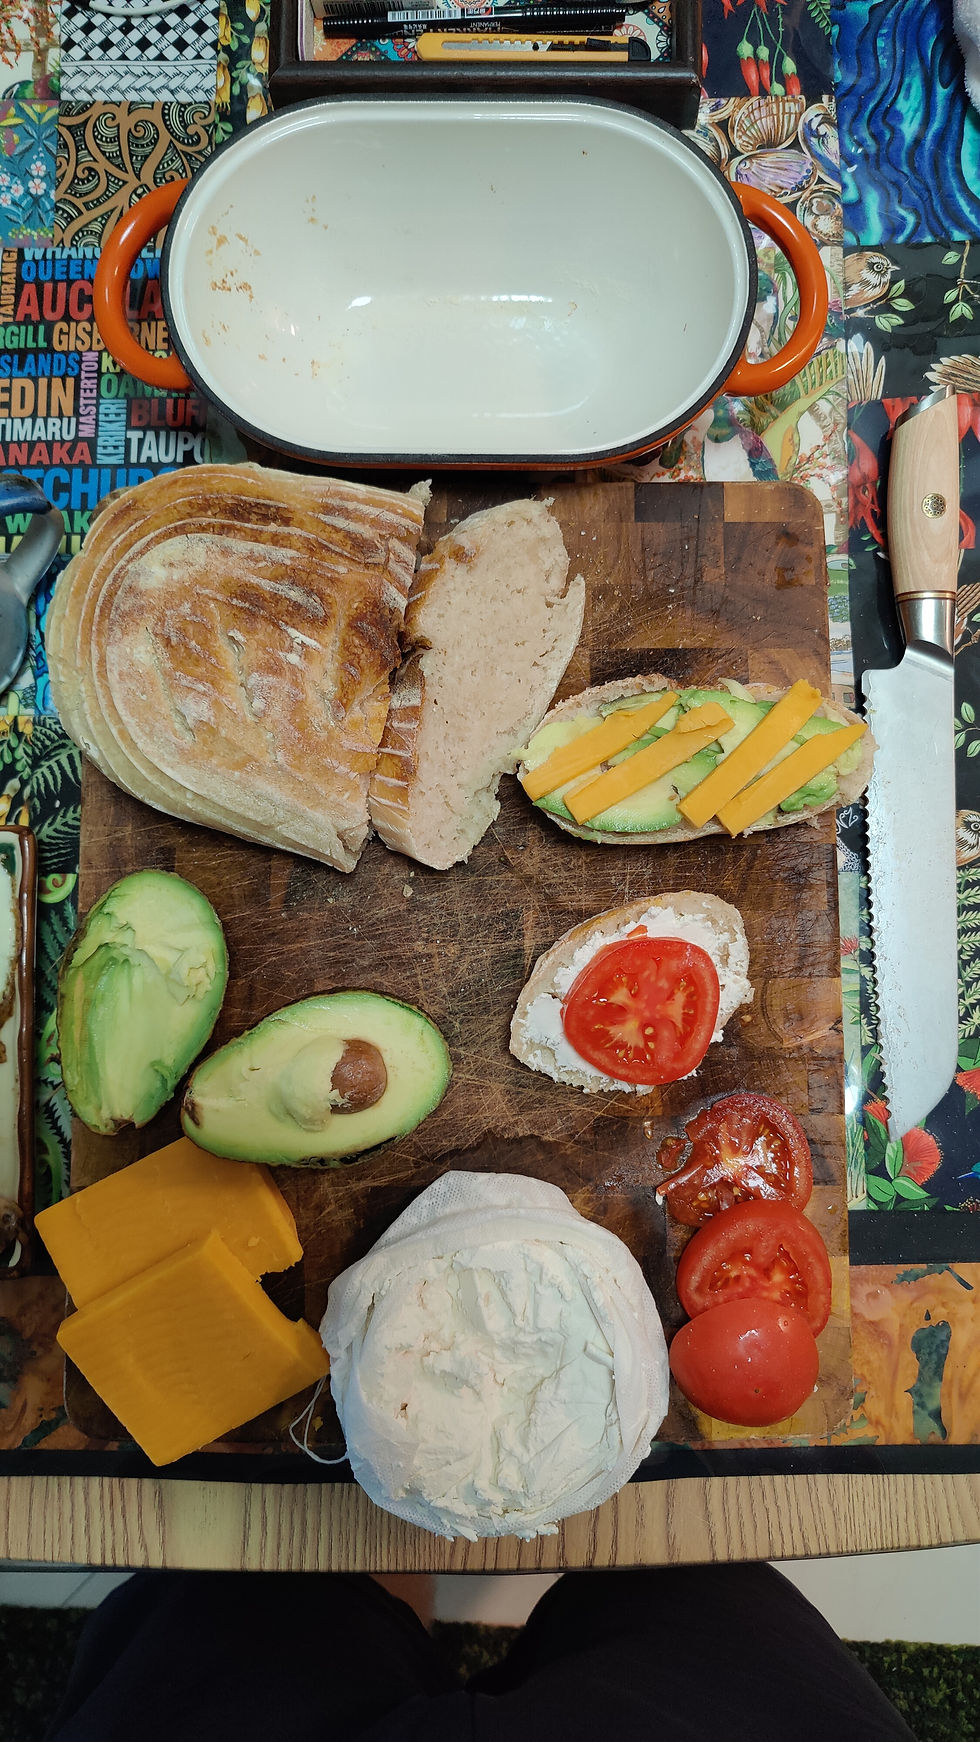
● A Dutch oven is ideal for achieving that perfect crust.
Step-by-Step Guide:


Step 1:
Mix the Dough
In a large bowl, combine:
● 600g of high grade flour
● 400g of filtered water
● 50g of your active sourdough starter
● 10g of salt
Mix everything together until there are no dry spots. At this stage, the dough will be shaggy and sticky—this is normal! Cover it with a damp cloth and let it rest for about 30 minutes.
Step 2:
Knead and Stretch
After resting, it’s time to develop the gluten. Instead of traditional kneading, you'll use a technique called stretch and fold. Wet your hands, gently grab one edge of the dough, stretch it up, and fold it over itself. Rotate the bowl and repeat four times. Do this every 30 minutes for the next 2 hours, covering the dough between folds.
Step 3:
First Rise (Bulk Fermentation)
Once you've finished the stretch and folds, cover the dough and let it rise in a warm spot. We use a Pyrex jug to track the rise; you're looking for the dough to almost double in size. This first rise should take about 4-6 hours, depending on the temperature. Just like with your starter, our hot water cupboard is perfect for this.
Step 4:
Shape the Dough
Gently turn the dough out onto a lightly floured surface. Shape it into a round by folding the edges into the center, creating tension on the surface of the dough. Let it rest for 10-15 minutes, then reshape it if needed for a tighter round.
Step 5:
Second Rise (Proofing)
For this step, we recommend using corn flour to prevent sticking. Place the shaped dough seam-side up in a well-floured proofing basket (or a bowl lined with a cloth and corn flour). Cover it loosely and let it rest in the fridge for 8-12 hours. This slow fermentation gives the bread a deeper flavor and helps with structure.
Step 6:
Preheat the Oven
Before baking, preheat your oven to its maximum temperature (usually around 230°C or 450°F). If you’re using a Dutch oven, preheat that as well. This ensures that when the dough hits the heat, you get an incredible oven spring.
Step 7:
Bake Your Loaf
Once your oven is preheated, carefully take the dough out of the fridge. Turn it out onto a piece of parchment paper, score the top with a sharp knife or razor blade, and carefully transfer it into your Dutch oven. Cover with the lid and bake for 20 minutes. After 20 minutes, remove the lid and lower the oven temperature to 220°C (430°F). Bake for another 25-30 minutes. To ensure the perfect bake, we use a thermometer to check that the core temperature hits 94°C before removing the loaf from the oven.
Step 8:
Cool and Enjoy
Once baked, remove the loaf from the oven and let it cool on a wire rack for at least an hour before slicing. This ensures the crumb sets properly. Now you’re ready to enjoy the fruits of your labor—a beautiful, homemade sourdough loaf!
Final Tip:
Sourdough baking can feel intimidating at first, but the more you bake, the more you’ll get a feel for your dough. Every loaf you bake is a learning experience, and no two loaves are exactly alike—that's the beauty of it!
Frequently Asked Questions:
1. Why should I bake my sourdough in a Dutch oven?
A Dutch oven traps steam released from the dough during baking. This helps create a crisp, golden crust while allowing the loaf to expand fully for better oven spring. If you don't have one, you can still bake sourdough using another covered oven-safe dish or by adding steam to your oven.
2. How do I know when my dough is ready to bake?
Your dough should look puffy, feel airy, and slowly spring back when gently pressed with a floured finger. Every kitchen is different, so it's best to judge by the dough's appearance rather than the clock alone.
3. Why do I need to score the top of my loaf?
Scoring gives the expanding gases a controlled place to escape during baking. Without a score, your loaf may split unpredictably, while a proper cut helps create an attractive shape and better rise.
4. Can I refrigerate my dough overnight?
Yes! Cold proofing in the fridge is a great way to fit sourdough into your schedule. An overnight proof can also improve flavour and often makes the dough easier to score before baking.
5. Why should I let my bread cool before slicing?
Freshly baked sourdough continues cooking internally as it cools. Cutting into it too soon can make the crumb gummy and sticky. For the best texture, allow the loaf to cool completely before slicing. For a selection of our slicers, cutters, and further ideas, check out our article How to Choose & Use a Bread Knife for Sourdough.